A fairly quick and cheap task I wanted to get out of the way was fixing the janky crap of a positive battery terminal that the truck had on it. There was also a wire that had been spliced together by hand and didn't even have tape over it, so I figured I'd tidy up some of that. The old terminal was really soft and the way the previous owner had wired some other stuff to it was pretty gnarly.
 |
| Plenty of corrosion damage, you can tell it didn't have much life left |
 |
| That nasty splice |

I replaced the terminal with a nice new brass one. Cleaned up the end of the positive wire and re-terminated the ends of the 2 additional wires with some properly sized terminals. Cut the ends off and soldered that nasty wire and heatshrinked it. I then wrapped the whole thing in some nice new wire conduit (not pictured).
So that was a simple enough task. Whole thing took less than an hour. The next thing that had been bothering me was a piece of metal interior trim that goes below the rear window. It was rusty and I had removed it and had it lying in my garage for around a year. I finally sanded and cleaned it, then sprayed it with Rustoleum rust converter primer.

After priming it I shot it with 4 coats of Krylon Oxford Blue. It doesn't match perfectly but it looks pretty good.

 |
| Realised I didn't have a picture of it in the truck, so I just ran out and took one. |
After I got back I yanked the rear bumper. Upon doing this I realized there was some minor frame damage on the passenger side. The bumper bracket on that side looked like it had been stretched. It was warped and the bolts were so badly damaged that I had to just use a breaker bar and break the heads off, then tap them out with a hammer. That bend in the frame was preventing the hitch receiver from lining up properly. I took a couple pieces of flat steel I had and used my ball joint press to straighten most of it out, then tweaked on it by clamping an adjustable wrench on it and bending it around with that. It turned out to be pretty easy.
 |
| There's what it looked like before. The receiver uses that bottom hole, so that had to be fixed. |
 |
| The new bumper looks significantly better. |

I'm pretty sure I had mentioned fixing this before but just had been putting it off. It was finally time to do something about it, so I went and bought some sheet aluminum. I cleaned the rust hole up some and then sprayed it with rust converter primer. Waited a day then sprayed a 2nd coat. Waited another day and then sprayed the area with silver hi temp paint.

I know this isn't the best fix, but it's good enough for now. If it keeps getting worse I'll tear the snout of the truck off and do a proper rebuild. Anyway, after painting it I used some paper and made a template of the hole, then used that to cut some of the sheet aluminum to shape. I put a nice thick bead of liquid nails around the opening, then drilled and riveted it in place. The liquid nails should do a good job of sealing it. I used liquid nails under the bottom to try to fill in areas I thought moisture might accumulate.
 |
| First piece of aluminum riveted in place |
 |
| both piece in place. It looks pretty good IMO. |
 |
| Once it gets dirty it'll hardly be noticeable :) |
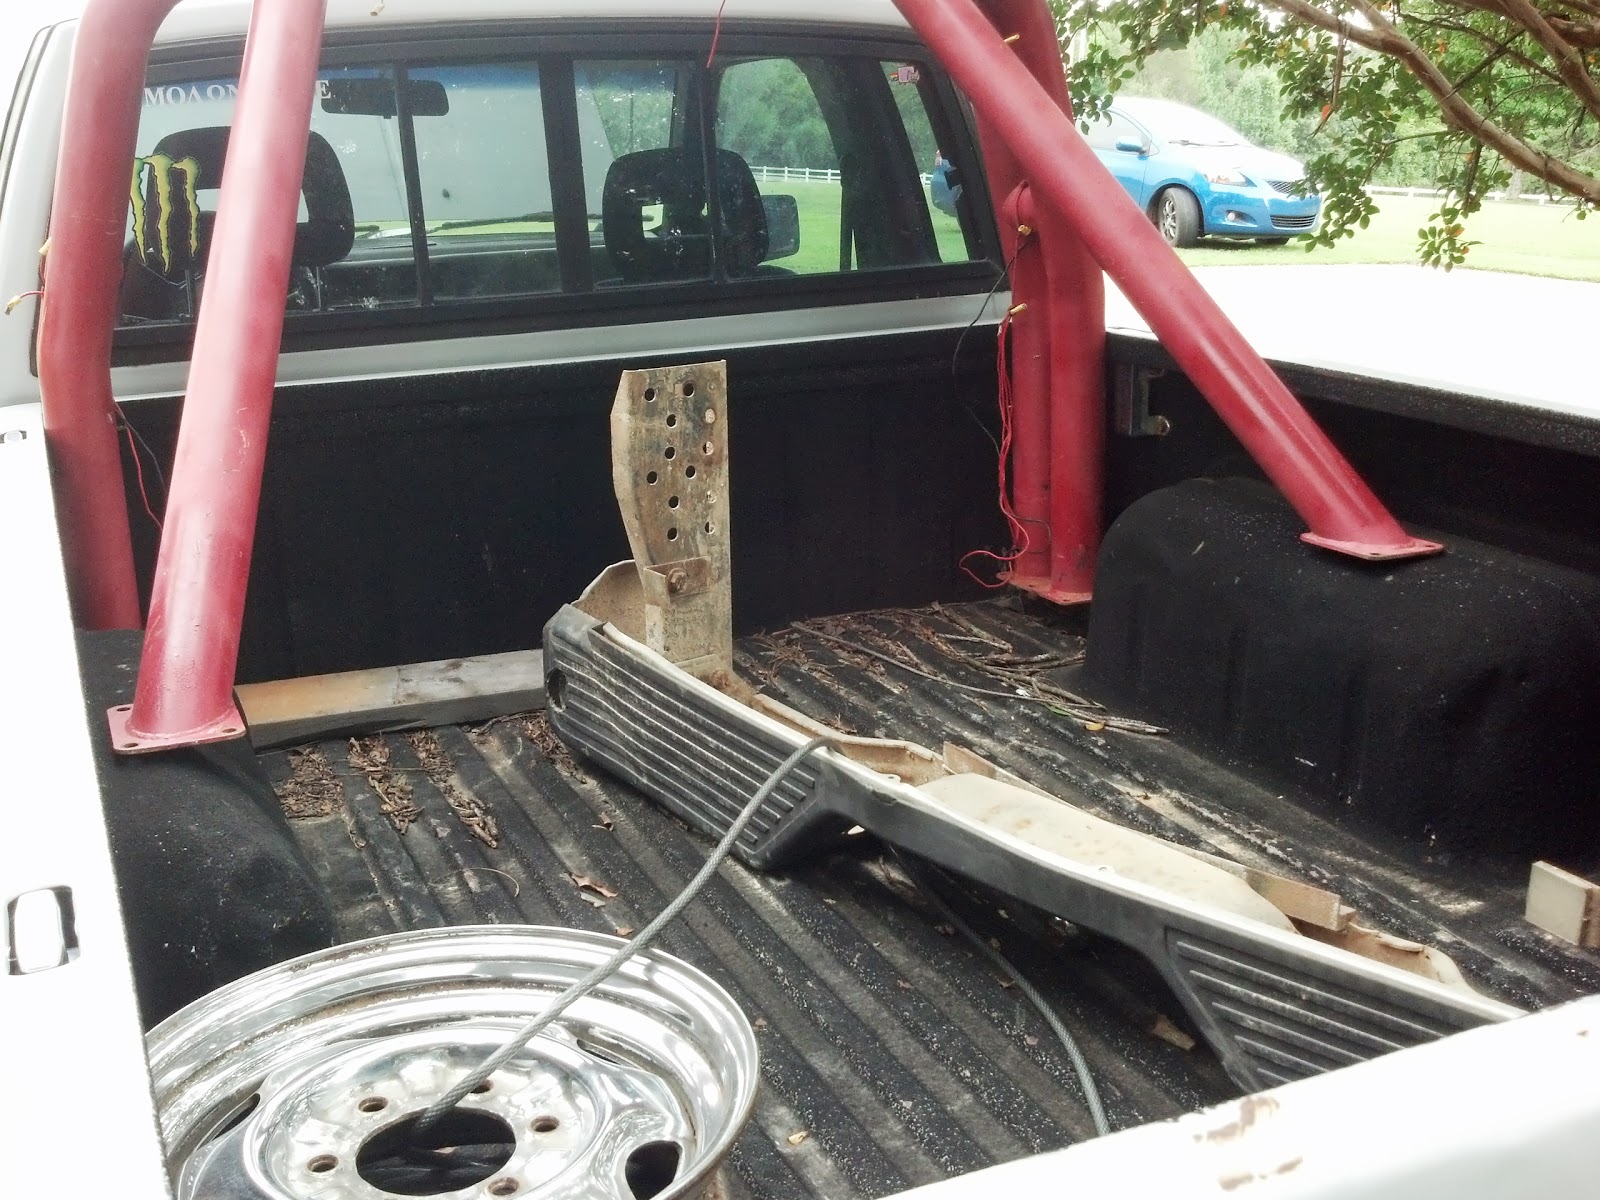
 |
| Original janky bumper is still lying in the bed today, lol. |
As you can tell, it was night so I didn't get to work on it any on day 1. I'm sure you can tell the paint job is pretty crap. Also, it's pink. I would have preferred to be able to paint it outside the truck, but whatever. I can deal. I'm not sure if you can tell from the photo, but it's leaning forward because the Toyota's wheel wells are shorter. I leveled it out s that I could bolt it up on the wheel wells and then measured the gap. It was so tight fitting in there it would just sit like that, with the front bars just hovering in space even without the bolts in the rear.
I was planning on buying some steel tube to use as a 2" spacer. A buddy suggested just using pieces of pipe cut to length. That seemed easier so I went with his suggestion. Drilled some holes and put the pipe in, then bolted it down.

I've currently got about 30% of the rail sanded and primed. I'll post pictures of it fully painted in the next update. I've got a ton of parts ready to do some major engine work. I'm not sure when I'll get around to doing that part, but hopefully it'll be pretty soon.