Monday, March 8, 2021

Rock rebounding rods, faulty floor fabrication, crusty cupholder console, I dunno maybe more alliteration things but lol this title is too long already.

 Wow, it's been over 4 years since I last updated this.  A lot has happened in that time.  I've bought a house so my tool collection has increased considerably.  I've gotten a welder and learned how to fabricate.  Naturally this has lead to some changes to the old truck, and the acquisition of about 700 other projects.  I've built a racing simulator setup for my living room, bought several motorcycles, and an '87 Mercedes 190D.  I'll try to keep the truck updates in chronological order as much as possible.

First off several years ago I got some rock sliders, I think for Christmas, from my parents.  I wanted these mostly to assist with getting in and out of the truck, but also to protect the rocker panels from the offroading I planned to do and (spoilers) never did and probably never will, lol.  I installed the driver's side one in 2018.  The passenger side one is... still leaning up against my desk in the shop lol.
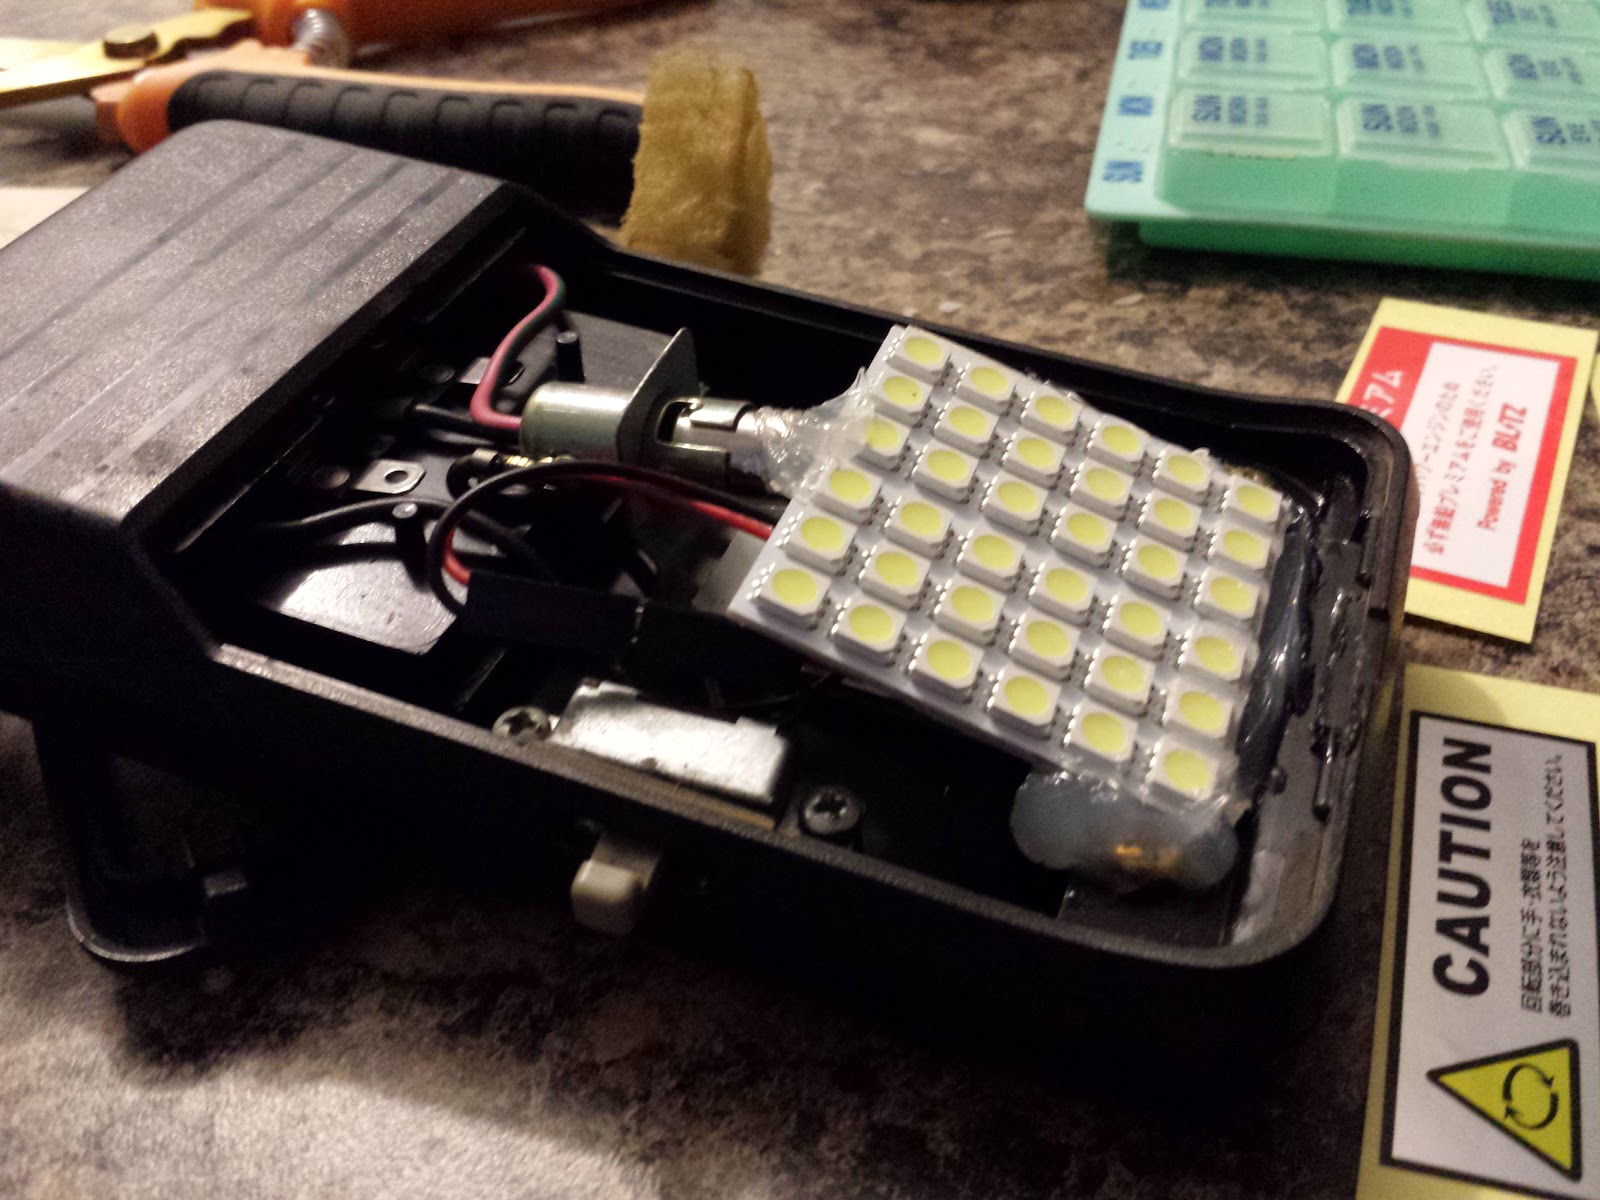
Visual test

This is how I ended up dialing in the final fitment

All welded up and primed

Welded to the frame, then painted black

Here it is holding my weight


There's been a few things I don't really have pictures of that happened during this time.  I've dealt with several coolant leaks which I (hopefully) have resolved by removing the bleeder hose deal that goes from the rear heater hose to the upper radiator hose.  The crank seal began leaking oil several years ago so I had to pull the timing cover and all of that jazz off to replace that, wasn't too hard just time consuming. 

 The hand-actuated e-brake barely worked and I really wanted cup holders, so I removed the handbrake and sold it.  Fabbed up a blanking plate to cover the hole and then got a center console from an early model Nissan X-terra. I removed both seats and the rear vinyl.  Took the carpet down from the back of the cab so I could repair some faulty wiring with the rear speakers at the same time.  I figured "I won't have to take the interior apart again for a long time so I might as well do it now..." FORESHADOWING.


Test fitting. I had to trim a fair bit of the console away to get it to clear the seatbelt receivers


Final fit. It's tight but I did install the lid on it and it works without fouling the seats. It's so nice having 4 cupholders instead of 0.

You might be wondering what I did to replace the e-brake... well, I bought the under-dash e-brake handle like the non-4x4 trucks have and intended to use that.  I got lazy due to other projects and didn't mess with the truck for a while, just drove it around.  I'd noticed that it squeaked constantly and the clutch felt kinda funny but mostly ignored it. Then one day I decided I'd install that e-brake.  That's when I found the floor hole.  I had pulled the driver's seat back out to do the brake installation and when I pulled up the vinyl in the front...

I scraped up all the deadening material and vacuumed up as much loose rust as I could, then used a screwdriver to poke around and find the areas where the metal was weak.  Then the cutting began.  I ended up having to remove the entire cab mount area, so the body was held up with a piece of 2x2 on a bottle jack.  The truck would sit this way for a little over a year.


I made most of the new floor out of pieces of an old shelving unit that was being thrown away at the office.

I tried to cut out sections and repair them as I went, rather than cutting it all out immediately so I wouldn't lose the shape of the floor.


It was really exciting getting to this point. It took a long time, but when it started looking like a floor again instead of a window it helped keep me motivated.


 I coated the floor in several layers of primer, then a couple layers of paint, then topped it off with 5 coats of 3M professional rubberized undercoating on both inside and out.  I then layered adhesive sound deadener (Roadkill brand) on the inside, then covered that with Roadkill's deadening foam mat.  I did the same to the passenger side and rear of the cab.

The rear camera on my phone broke around this time, so it doesn't focus anymore.  Pardon the blurr.

I deadened the rear cab wall as well and put a layer of foam up between the carpet and back wall.  I also removed the jump seats from the rear and deadened those openings to give me more cargo space and some room to put future electronics in the recesses.

After all this there was a rust hole on the passenger side rocker panel that had been there since I bought the truck.  I'd just ignored it because I didn't have a welder at first, then I ignored it because I'm lazy.


This repair was a lot easier than repairing the whole floor.  I bent the piece of old shelving steel around a concrete plug that the pest control people drilled out of my driveway when installing termite protection.  It was close enough.  I welded it to the rocker panel then used a ball peen hammer to bonk it into place as needed.  It's not perfect but it doesn't leak.  I coated this in paint and 3M as well.
 

Tuesday, October 18, 2016

Bright on the inside dark on the out.

Since the last post there's been a fair bit of work to the old Beast.  Seems like I've spent a lot of time fixing things, so it was nice to get to spend some time making improvements instead of dealing with broken garbage.  The Beast turned 30 in May of this year, so I went out and bought a cookie cake to celebrate.  Me, the Beast, and the Yaris had a little party (I did give some of the cookie cake to my girlfriend but she wasn't in town at the time).  I'll go ahead and warn you, this post is going to be fairly picture-heavy.  I don't think anyone still has dial-up nowadays, but if you're on a limited data plan... just be warned.

30 years, 259k miles, and still going strong!


So to celebrate 30 years of being alive, I decided to give the old truck a few presents.  To start with, I decided it was time to finally get my map lights installed and to do something about that awful, horrible, smoke-stained, stanky-anus headliner.  I used the template David29 gave me with the map lights I bought to cut the headliner.  Then I had to yank the whole headliner out to actually install the mounting bracket, run the wiring, etc.

This was surprisingly difficult, the headliner is really thick

This piece of trim was not going to come off without breaking it :( You can see how nasty that headliner was here too.

After a lot of struggling with it, I ended up having to cut the headliner out.  You can see how absolutely horrifically dirty it was compared to the edges, which were under the trim pieces.

Roof was in really good shape. I decided to put some dynamat-like stuff up here to cut down on rain noise while I had the headliner out.
I bought some LED panels to upgrade the map lights and the dome light to LED festoons instead of the old "normal" bulbs.  They original bulbs worked but they were kinda dim and use a lot more energy than LEDs.  With the limited output on this truck's alternator, I'll save every miliamp I can for fun accessories. 


I had to do a fair bit of cutting/modifying to the dome light

Here it is with the LED panel installed.  I put it at an angle so it would kick more light forward into the front of the cab.

It is real bright

Like, real bright. Daytime bright.

Progress with the dynama-like stuff install. 
Converting the dome light was real easy.  Took just a few minutes.  Converting the map lights was a bit more involved.  I don't have pictures of the work in progress unfortunately, as it took a while to find something that worked.  Ultimately I took the map light apart, cut all the original bulb stuff away (including the bulb holder), glued a bottle cap to what used to be the bulb holder area (to raise the LEDs closer to the lenses) and then glued the LEDs to the bottle cap.  I could have sworn I took pictures of it... but I have no idea what happened to them.


So... yeah... they turned out a bit too bright
After retrofitting the dome light, it was time to do something about that nasty headliner.  I was trying to figure out a good way to re-upholster it or something.  I'd tried cleaning it every way the Internet said but that didn't work.  Buying a new one was out of the question, as shipping would be impossibly high and no junkyards around here keep D21s anymore.  Then my girlfriend said "what would happen if you spray painted it?"  I didn't see any harm in trying it, so I did.


The right hand side here is painted, the left hand side is the original dirty nastyness
Holy crap, she is a genius.  It worked beautifully!  I couldn't believe how closely it matched the original color too. 

Here it is all done
Since the headliner was all sorted out, it was time to get this project finished up!  I had to cut holes in the roof around the rear view mirror mounting location, as the 86 trucks were never equipped with map lights and didn't have the recesses for them.  This was so painful...

I had to expand the cuts a couple times to get them big enough.  This was the first go.

Wiring for the map lights and dash cam (future project) installed.
 This was a good time to go ahead and install those lighted Pathfinder visors I've had for a few years.  My passenger visor had broken anyway and just flopped around.  So I went ahead and installed the wiring for the visors while I had this stuff all out.


Headliner back in
 I left the back portion of the headliner out, as I'm going to install a roof-mounted gun rack back there.  I've got the gun rack already, but the install will come later.  I've got other things I want to do first.


Glorious Pathfinder visors.

Crappy cell phone picture, but you can kinda see how closely the spray paint matched the grey of the visors.
 My plastic rear-view mirror mount had been broken before and glued together by a previous owner.  It broke again.  Rather than try to fix that one, I made a new one.  Out of steel.

Let's see you break this, gravity.

Map lights and rear view mirror installed
 I tested everything and it all works :D  It's all running off the dome light circuit, which probably would have been overloaded if I hadn't converted to LEDs.  I did most of the work here from June to September.  In early October, I decided to go ahead and get the truck's windows tinted.  I've been wanting this done for years but just hadn't done it.  The time felt right, so I took it to the shop and got some mad tint.  32% up front (per AL law) and 5% on the rear windows and back glass.

Mmmmm.... limo tint.... delicious!


So, that's how we stand now.  My passenger side door lock has stopped working again, so I'll have to revisit some of my old 2012 posts to find how I fixed that the first time.  This time I'm going to use new parts instead of used ones...  Also, I've got some rock sliders sitting in my parent's garage.  Going to be installing those soon.  Not sure what I'll do after that... but I'm sure something will come to me :)

Thanks for reading!

Monday, April 25, 2016

Few minor issues

It's been almost a year since the last posting to the build log.  Not much has changed since then.  Mostly I've just been enjoying my truck. I had a few more parts to be replaced, so this entry serves more to document time/mileage of replaced parts than anything else.  Truck currently has 258k on it.  I've removed the oil filter relocation kit, as it began leaking in late 2015.  It wasn't a big leak, but with the truck being lifted there's really no need for the relocation kit anymore anyway, so off it went.  In February of this year I had some overheating problems.  I had noticed the truck getting warm but it didn't seem to be a big deal.  Then one day on the way home the temp gauge got just right on the brink of the red during my very short commute from work to home.  I parked up and felt of the upper radiator hose.  It had no pressure on it and there didn't seem to be any coolant in there.  Did some more testing and determined it was the thermostat.  I just replaced the thermostat when I did the big engine rebuild but apparently the cheap aftermarket one just didn't hold up.  I bought a Nissan OEM thermostat from a dealership in New York (via eBay) and installed that.  Wasn't a huge deal to install, but while I was working on it I noticed that my radiator's upper "snout" had broken off.


The radiator that's in the truck is an aftermarket one anyway and it's been in there since I first bought the truck in 2012.  Who knows when it was actually installed, but it was very dirty and probably needed to be replaced anyway.  I got a new one from Amazon for $40 or so.

Old on the left, new on the right
For anyone else running across this, the new radiator had 2 nipples on the bottom of it that the old one did not have.  After discussing it with the guys on Infamous Nissan, they said these were only used on the automatic trucks as some sort of transmission cooler.

The unnecessary nipples
So I'd been noticing this "clunk" noise when shifting gears that sounded like it was coming from underneath the truck for a long time, but didn't think much about it.  I'd asked a few different people and they said that it could be a u-joint or transmission mount being loose or something like that.  I poked around under there a few times but never could find anything wrong.  In March of this year, I noticed that the truck would make a squeaking noise when I first started driving it.  Then it got to where the squeak was every time I accelerated.  I consulted Infamous again and was told that it could be a number of things but to check the u-joints.  Sure enough, the u-joint at the rear differential was bad.


It was a pain to get the driveshaft out.  Those bolts on the flange there (visible in the video thumbnail) were stuck tight.  Even my air powered impact wrench wouldn't remove them.  I ended up getting them off with a 10 amp electric impact wrench.  Ordered a couple Moog 269 super strength non-greasable u-joints from Amazon for $20/ea.  Once the shaft was out I pressed the old u-joints out with my Harbor Freight 12 ton.


rekt
As you can see in the picture above, the old u-joint was pretty trashed.  Both sides of that axis of the u-joint looked like that.  I pressed the new ones in and noticed that they were pretty hard to move.  Did some googling and found people saying that you could whack the ears of the driveshaft with a hammer to relieve some tension.  I did that and the u-joints flopped around with ease.  Put the shaft back in the truck and took er for a spin.  She's running smooth as silk now!

I've also got some more parts for my big electrical system upgrade...


More to come on that later this year hopefully!